

Fermented garlic honey: 2-ingredient immune remedy for winter (made in summer)

Hi friends,
It’s the middle of summer, so naturally I’m already thinking about winter and the remedies I’ll want to keep my immune system strong!
Let me explain - because there’s a little jar sitting on my counter right now that I want to tell you all about.
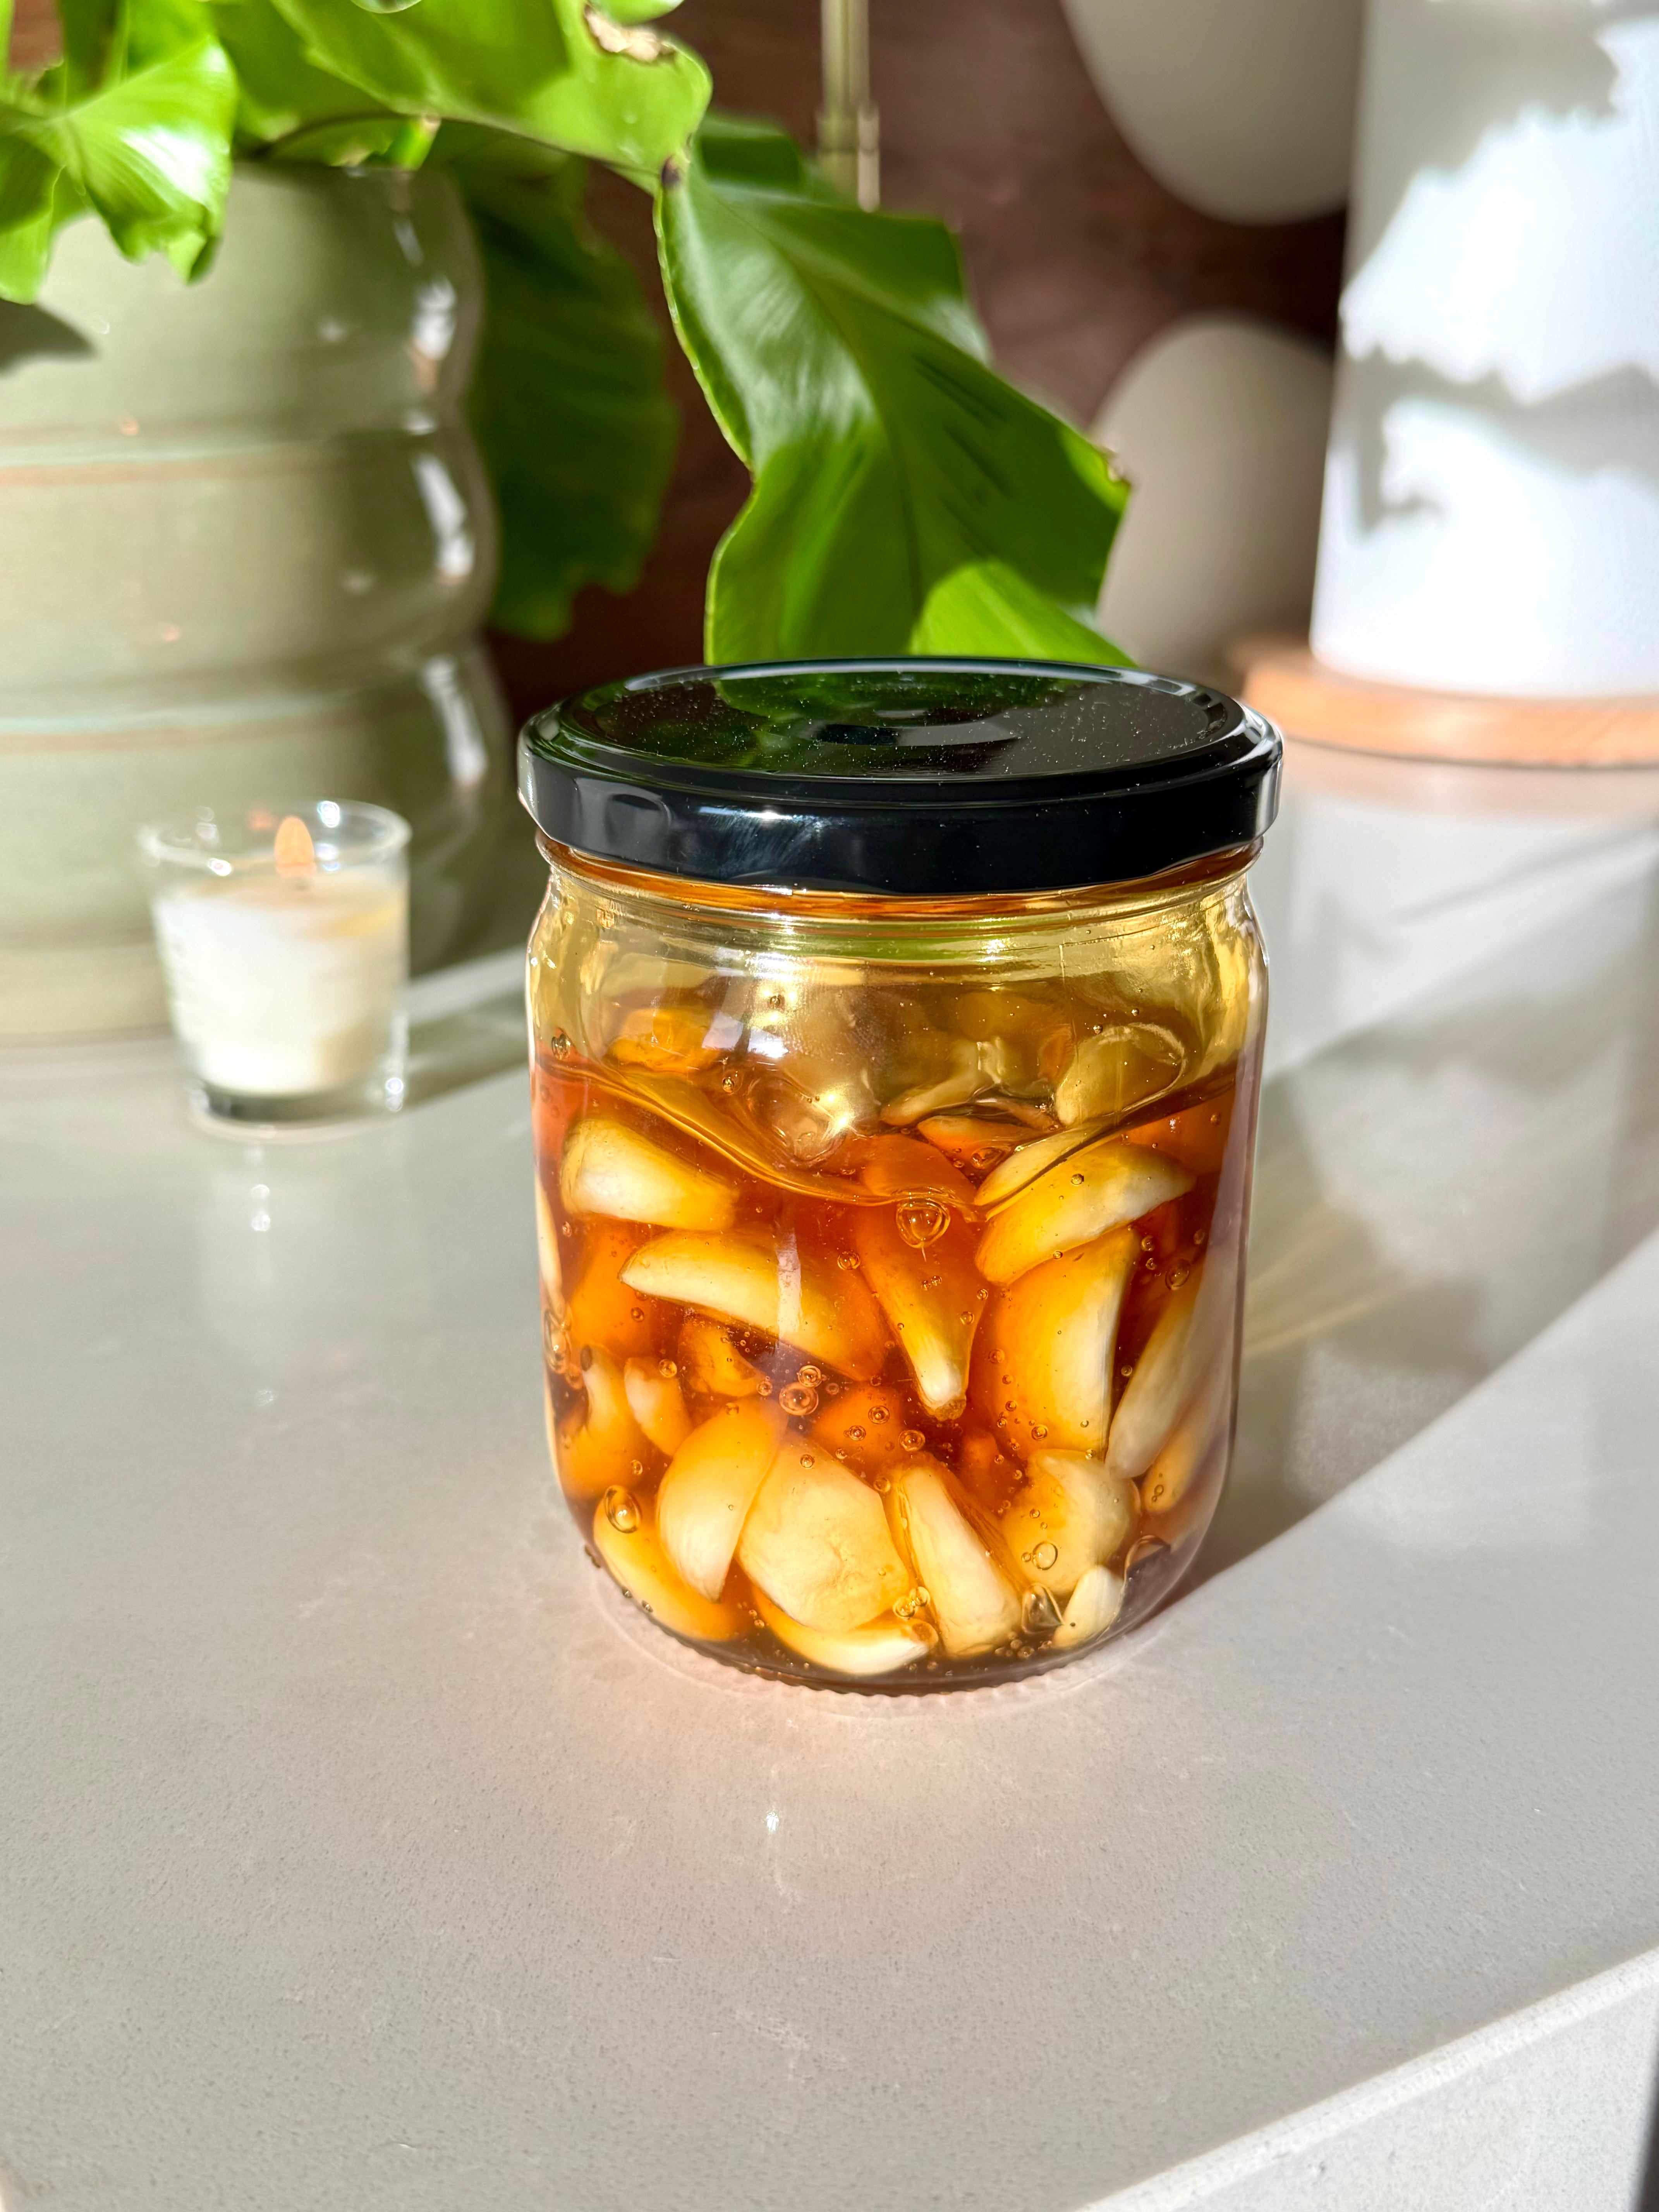
It’s fermented garlic honey, and I’m making it now, in the warm months, so that it’s ready and waiting for me when cold and flu season rolls around and everyone starts getting sick.
It needs a few weeks to do its thing, so summer is actually the perfect time to start a jar. Your winter self will thank you!
Super simple remedy, only two ingredients. BUT there's some real strategy (and a few important warnings!) behind the process…
First, a little respect where it’s due…
Garlic and honey have both been used as medicine for thousands of years, across so many cultures - ancient Egypt, Greece, China, Ayurvedic tradition.
The ancient Greeks and Persians used to make something called oxymels (little honey and vinegar tonics) for coughs and colds and immunity, longggg before any of us were making cute jars for Instagram.
I trust these remedies and I love getting to do a little of what they did.
Let me walk you through what each piece is doing in this remedy, and then exactly how to make it.
Garlic
Garlic is an absolute star for the immune world (and for a very good reason). When you crush or chop it, it produces a compound called allicin, which is where a lot of its antimicrobial and immune-supporting power comes from. It’s been studied for everything (supporting your immune system, helping with circulation) and it’s literally one of the most medicinal foods you can keep on hand.
I love eating a piece of raw garlic a day just with a meal or on its own. But the garlic and honey combination here is even more powerful.
Raw honey
Raw, unfiltered honey (in a glass jar - a good, quality honey is everything here) has its own antimicrobial + soothing properties - it’s why honey has been a cold-and-sore-throat remedy forever. But again, here it’s doing double duty, because the wild yeasts and enzymes naturally present in raw honey are also what drive the fermentation.
This does NOT work with the processed, heat-treated honey in the plastic bear - that’s been stripped of the very things that make this work. Raw only!
This is my favorite raw + unfiltered honey to use for garlic honey.
So as the garlic sits in the honey, it slowly releases its moisture, which thins the honey out and kicks off a gentle ferment.
Over time the garlic mellows out and turns almost sweet (that sharp raw bite fades), and the honey takes on this garlicky taste (delicious in my opinion). Lots of people ask me how it tastes, and that is exactly how. It’s easy and smooth to eat.
So you end up with both an infused honey AND soft, spoonable cloves.
How to make it (plus a couple warnings) …
You truly only need two things - organic garlic and raw, unfiltered honey.
First, your jar…
Wash a glass jar with warm water and let it dry completely - I mean bone dry, not a single drop of water inside. You don’t need to sanitize it, just clean and fully dry (excess water can throw off this whole thing).
Peel your garlic cloves (leave them whole, or lightly crush them if you want it to ferment a little faster). Fill your jar about halfway with the cloves.
Pour raw honey over the top until the garlic is completely covered, leaving a little room at the top of the jar because it’ll bubble and expand as it ferments.
Seal it, and here’s the IMPORTANT part:
Every day (or every couple of days) you’re going to burp it and turn it. Burping it just means opening the lid to let the built-up gases escape, then flip the jar over to keep all the cloves coated in honey. This step keeps everything submerged and happy, and it’s how you avoid any trouble.
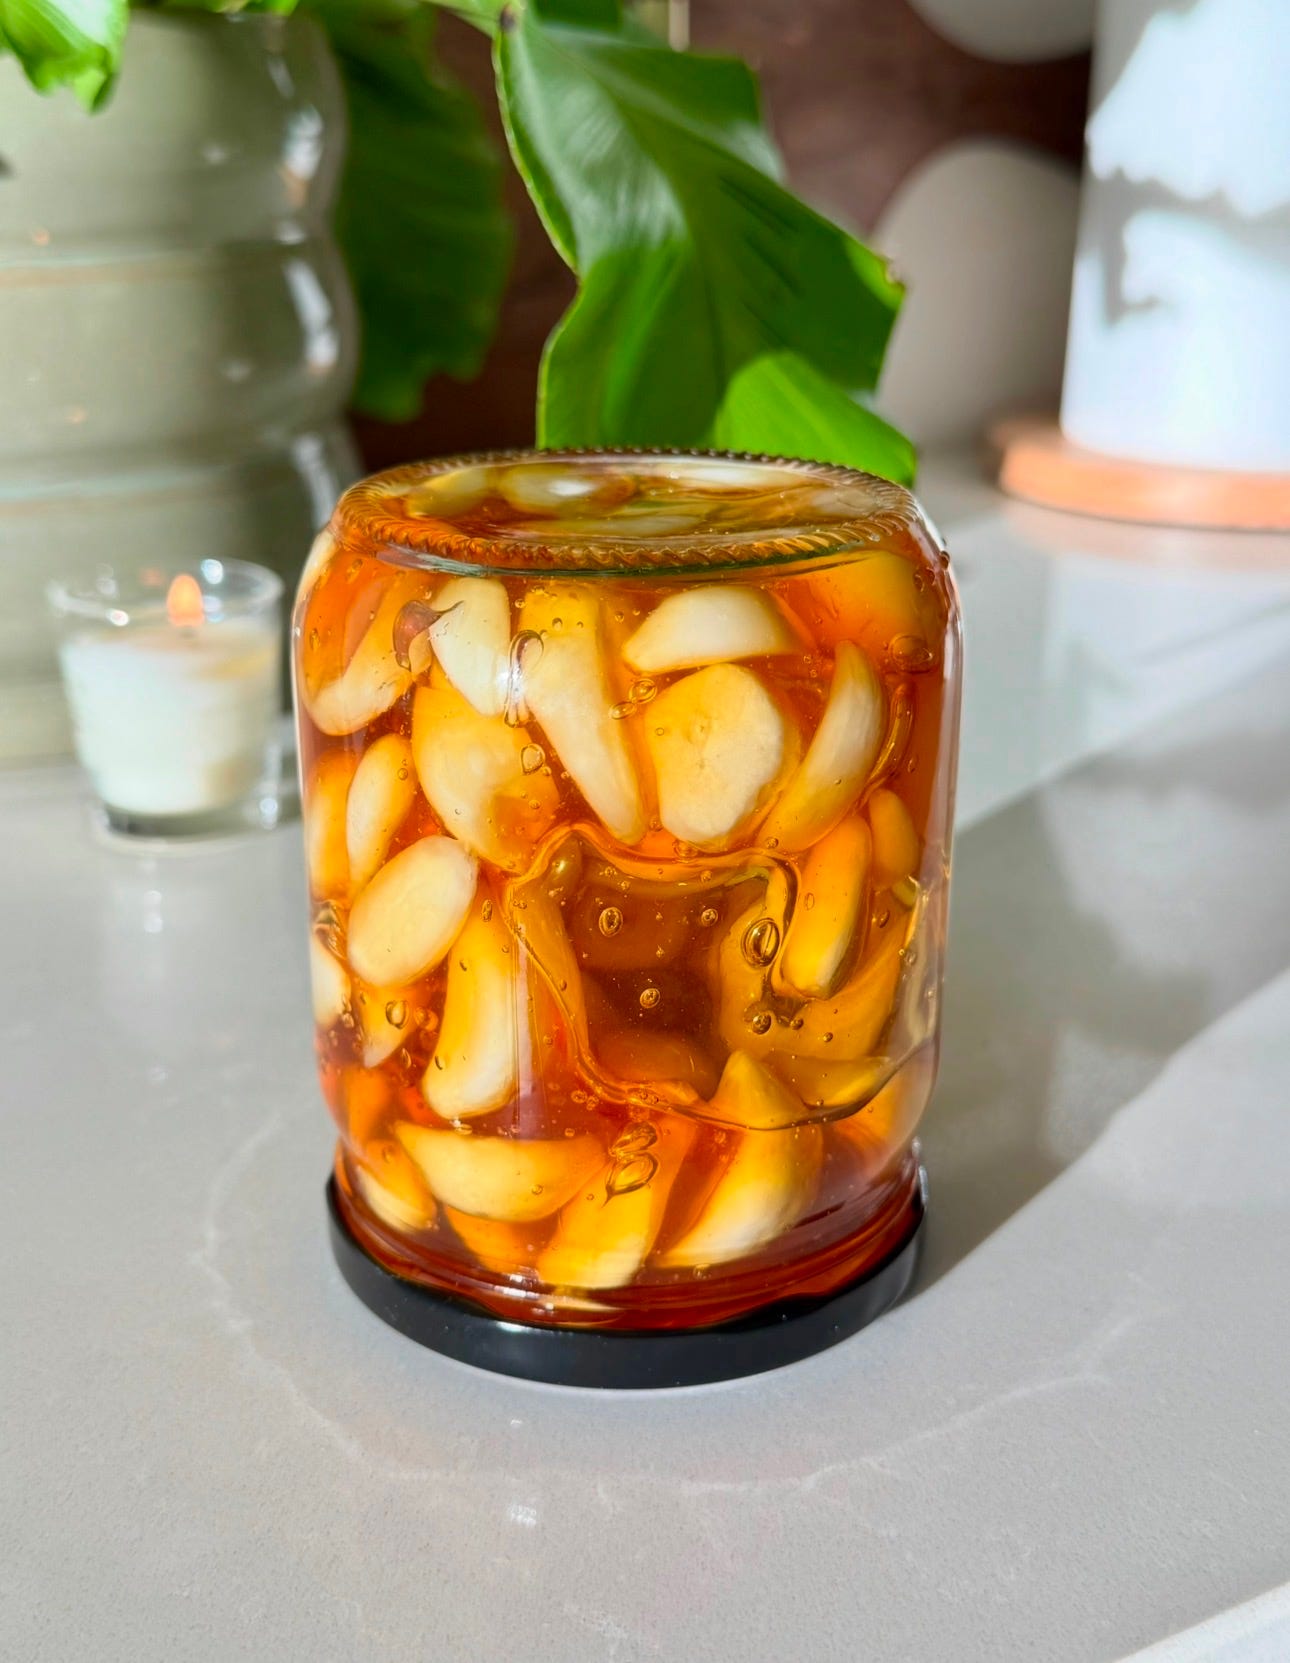
You let it sit at room temperature, out of direct sunlight. You’ll see little bubbles start to form within a few days - that’s the ferment happening!
It’s ready to start using in about 3 to 4 weeks, but it just gets better and deeper the longer it goes (that’s why we make it in summer), lasts forever - even up to a year or more.
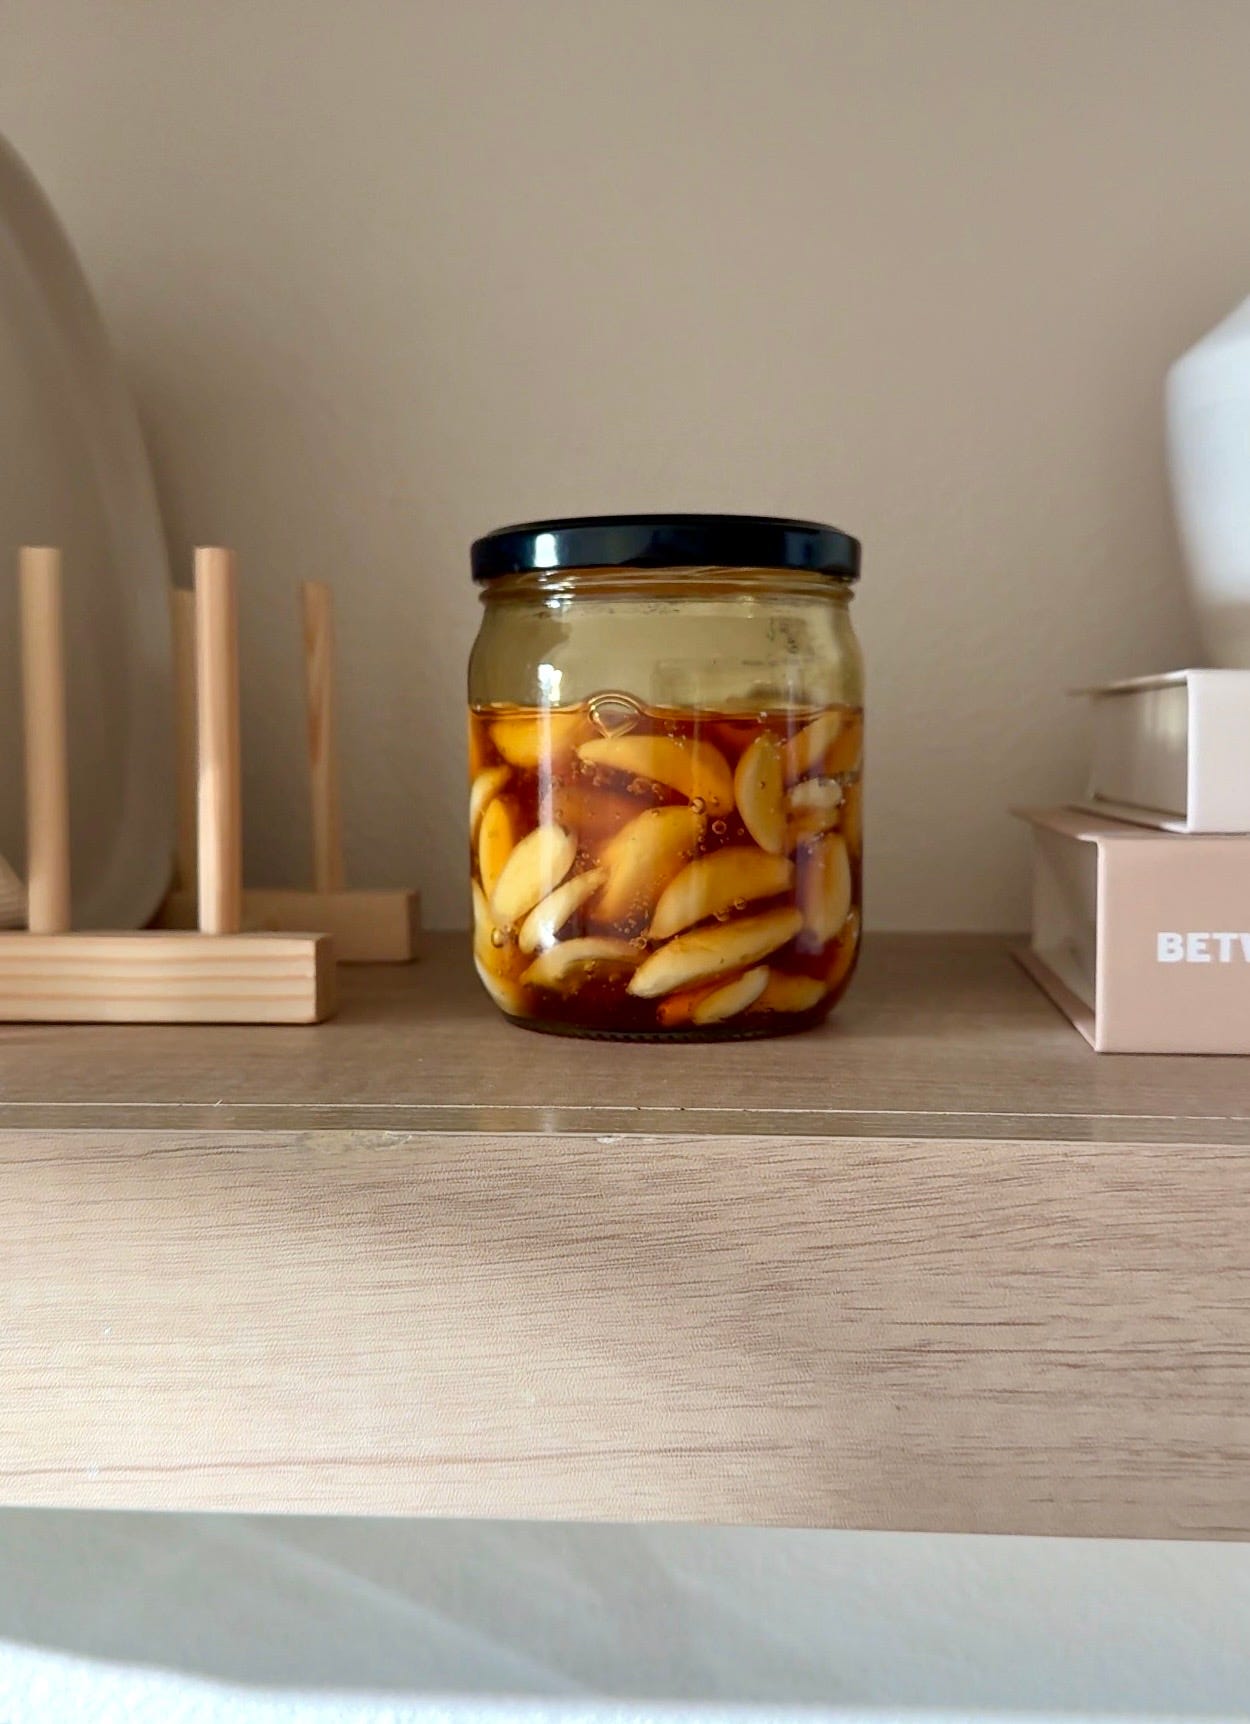
(One totally normal thing - your garlic might turn a little blue or green as it ferments. It looks alarming but it’s a harmless reaction, and it’s completely fine to use.)
A few safety things you must know!
I’d never skip this part with you, because accuracy matters to me. Garlic stored in an oxygen-free environment can carry a botulism risk IF the mixture isn’t acidic enough - but raw honey is naturally acidic (usually right around the safe zone), and that acidity is what keeps this safe.
To stay on the right side of it: keep those cloves submerged, burp and turn your jar like I mentioned, and if you want total peace of mind, you can add a splash of raw apple cider vinegar at the start and/or test it with a pH strip (you’re looking for below 4.6).
And the one hard rule - never give honey, fermented or not, to a baby under one year old.
How I like to use it
Once it’s ready, I’ll eat a spoonful of the honey (or a soft clove) at the first little tickle of a sore throat, stir it into barely warmed (NOT hot!) tea, or whisk it into a salad dressing. It’s savory-sweet and honestly delicious, not just medicinal.
I also like to just take a spoonful of the honey or eat one garlic clove a couple times a week.
So that’s it :)
A jar of garlic, a jar of honey, and a little patience while summer does the work for you. Come winter, when everyone around you is sniffling, you’ll have this waiting.
Tap the heart if you want more little rituals like this one, and please come tell me in the comments if you make a jar!
Paid members - keep scrolling! I made you a printable Fermenting Tracker + Troubleshooting Guide to go with your jar. It's got a daily burp-and-turn tracker so you can check off each day, a "wait, is this normal??" section for every weird thing your jar might do, the safety checklist, and all the ways to use it once it's ready.
Print it out and keep it right next to your jar: